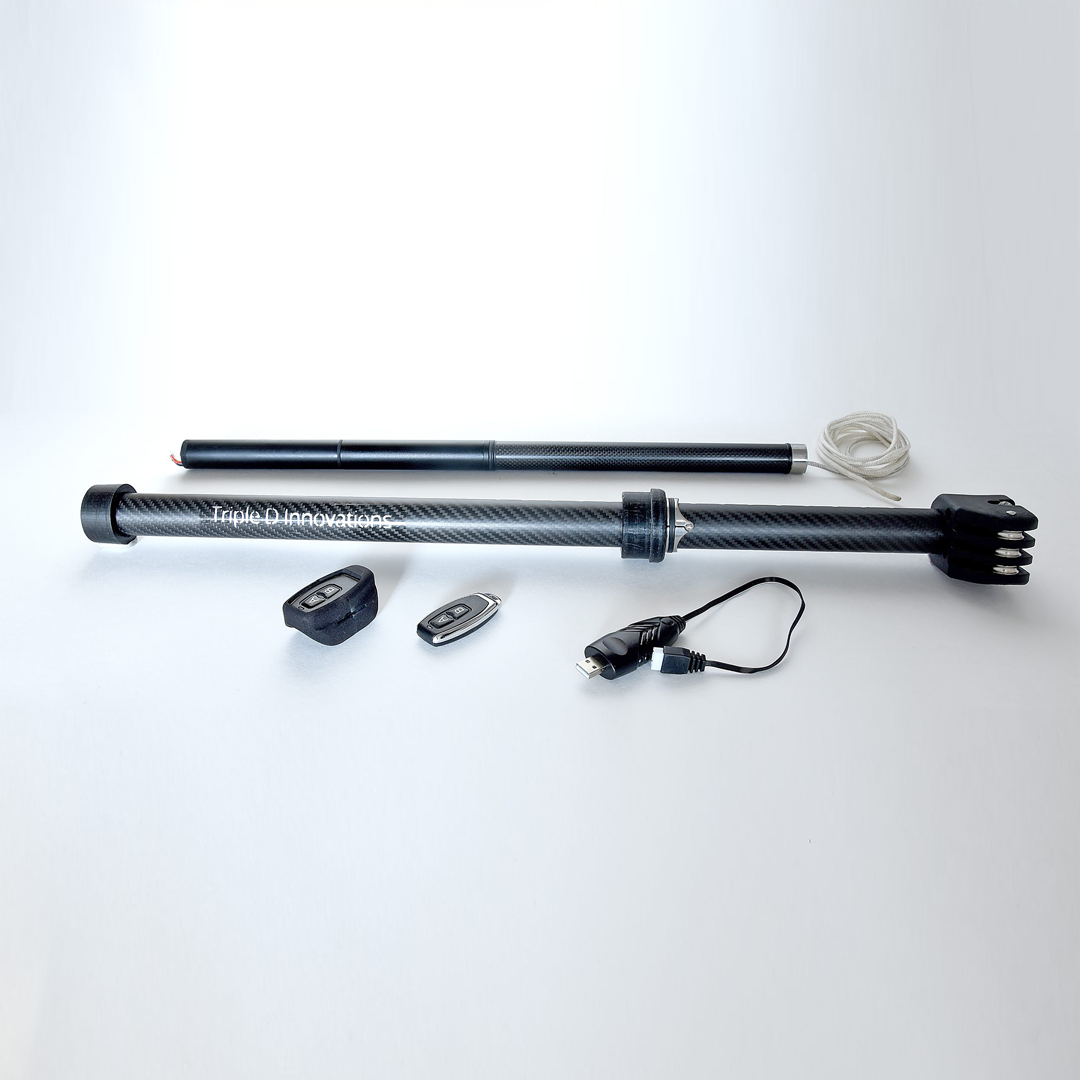
The following general items are relevant in order to enjoy the 2 year guarantee:
The ON/OFF switch must always be switched on LIPO as indicated. In this way the LIPO will be protected against undervoltage end damage.

The system is waterproof and thus protected against water. The upper side of the Carbon E-Xtension were there are no more holes is provided with a rubber seal. Together with the top cover which provided with 2 rubber seals makes up the waterproof chamber. It is necessary that the rubber seals are present and well greased with an acid-free grease.
If the RED Lipo led is lit up you should recharge the battery pack. From this position it normally takes 4-5 hours to fully charge. If you are charging after the red led lighting up it will take about 6 hours to fully recharge.
The 1.000 mAh battery pack is sufficient for about 25-30 times full downhaul and full release. This is more than enough for 2 sessions. Of course the downhaul release doesn’t use almost no energy. It is necessary to switch the system ON in a clean environment. After your session on the water you should switch the system off again in a clean environment. In this way the waterproof chamber will stay functional. For recharging the battery pack it is essential that you use a balanced 3S LIPO charger. The USB 3S balancing charger that is provided with the system will do the job in a few hours. The red and orange led will light on. During recharging the orange led will give a pulsating light every second. When fully recharged the orange led will stop. Preferably you should connect first the connectors between the battery pack and the recharger and check for certain the good orientation.
With normal use you can use the system for 4 or 5 consecutive days in salty water. Only if you have used the system during wave riding and/or jumping or when the system is not used for a longer period (5-7 days) one should rinse the system in tap-water without opening the system. Hold the system in a vertical position. If the inside of the carbon tube is well greased (last time before use) inside the waterproof chamber it is quite easy to take the UXT base out by pushing the inside up with a (PVC) tube of 26 mm max after removing the base.
Important notice:
Never try to pull the inside tube (by the battery pack !) that is sticking out of the carbon tube after pushing the first few inches.
You can leave the DYNEEMA rope threaded through the base if you prefer. It is easy however to take it from the base and thread the DYNEEMA rope when assembling. (see point 6) Now You can clean the inside; engine/engine support/battery pack with a clean humid towel. Don’t forget to check the rubber seal for any damage! After cleaning the inside should be greased around the seal. The outside and inside of the base should be rinsed and cleaned as well. The inside pulley should be checked for dirt and/or salt crystals deposit before assembly.
The main parts that can be disassembled;
- Basic carbon E-Xtension consist of;
- Top cap with 2 seals
- Carbon Tubing with adjustment ring
- Base with 3 pulleys at the outside and one pulley in the inside
- Inside tubing consists of;
- 12V 3S Battery pack (with electronics inside) and ON/OFF Power switch on top
- Geared engine compartment together with engine support and rubber seal.
It is possible to unscrew the battery pack from the engine part. This should be done in the middle position of the piston (downhaul) stroke. So not completely in nor out. The battery pack can now be unscrewed from the engine compartment. This should be done with care; don’t bend the parts; the main axes of all parts should be respected and in line. The unscrewing can be done by hand.
The following items are relevant for problem free use:
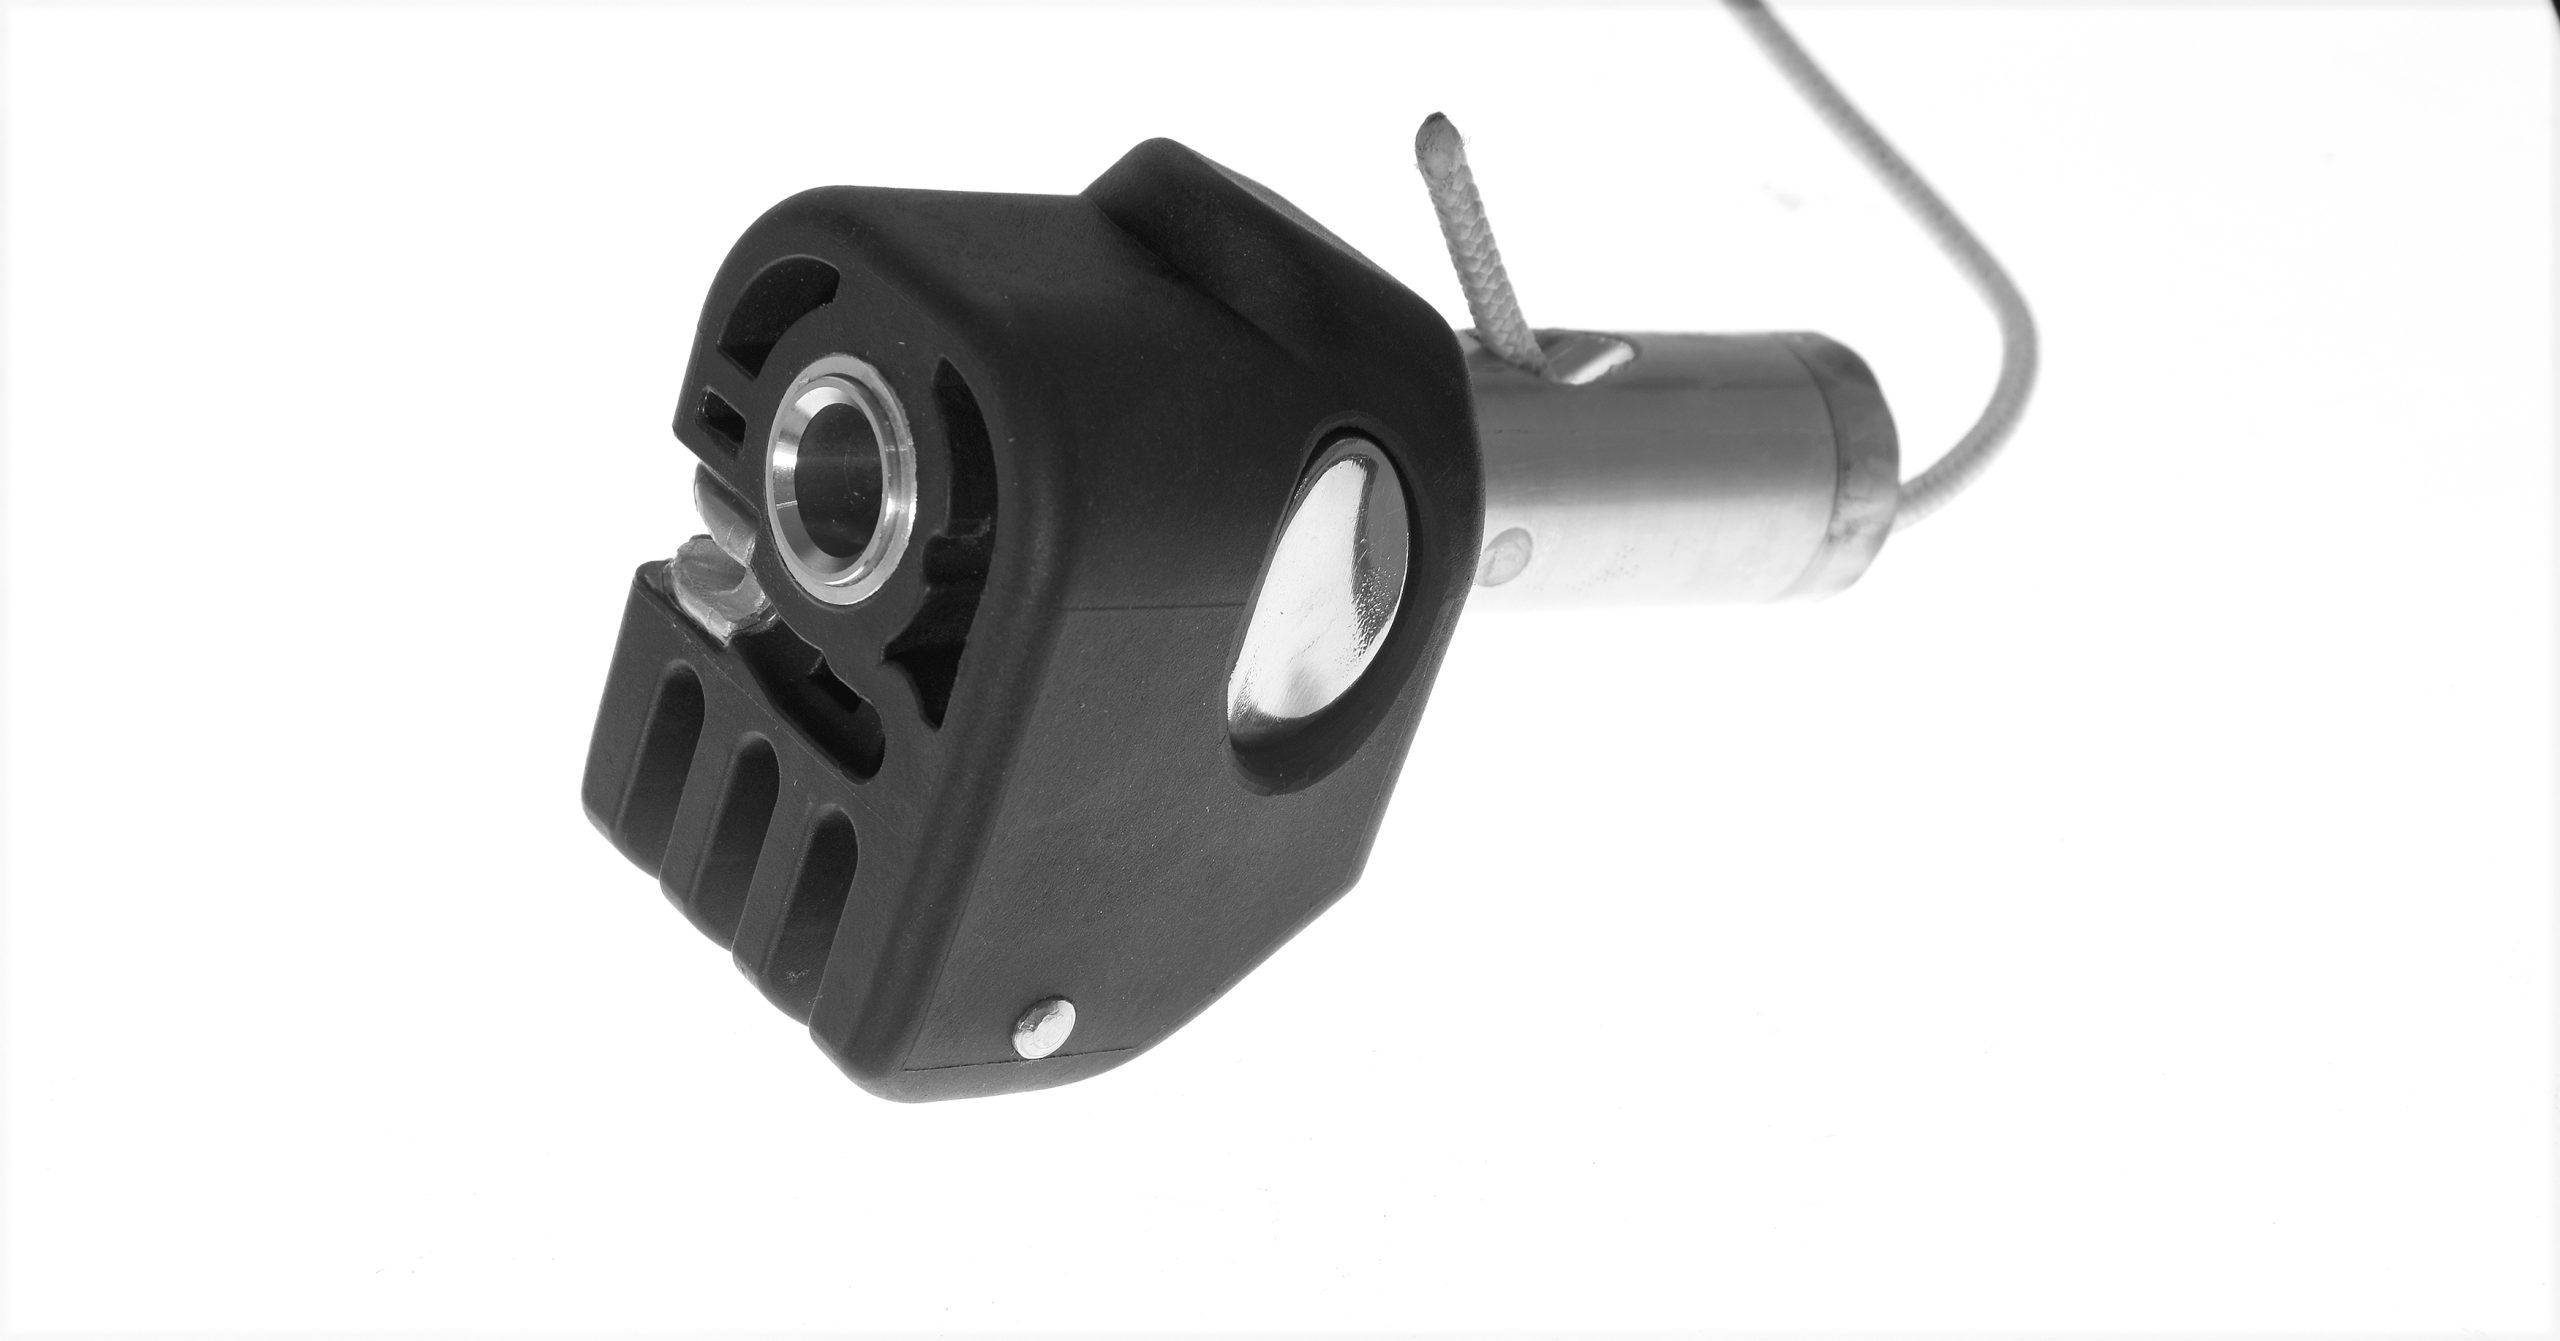
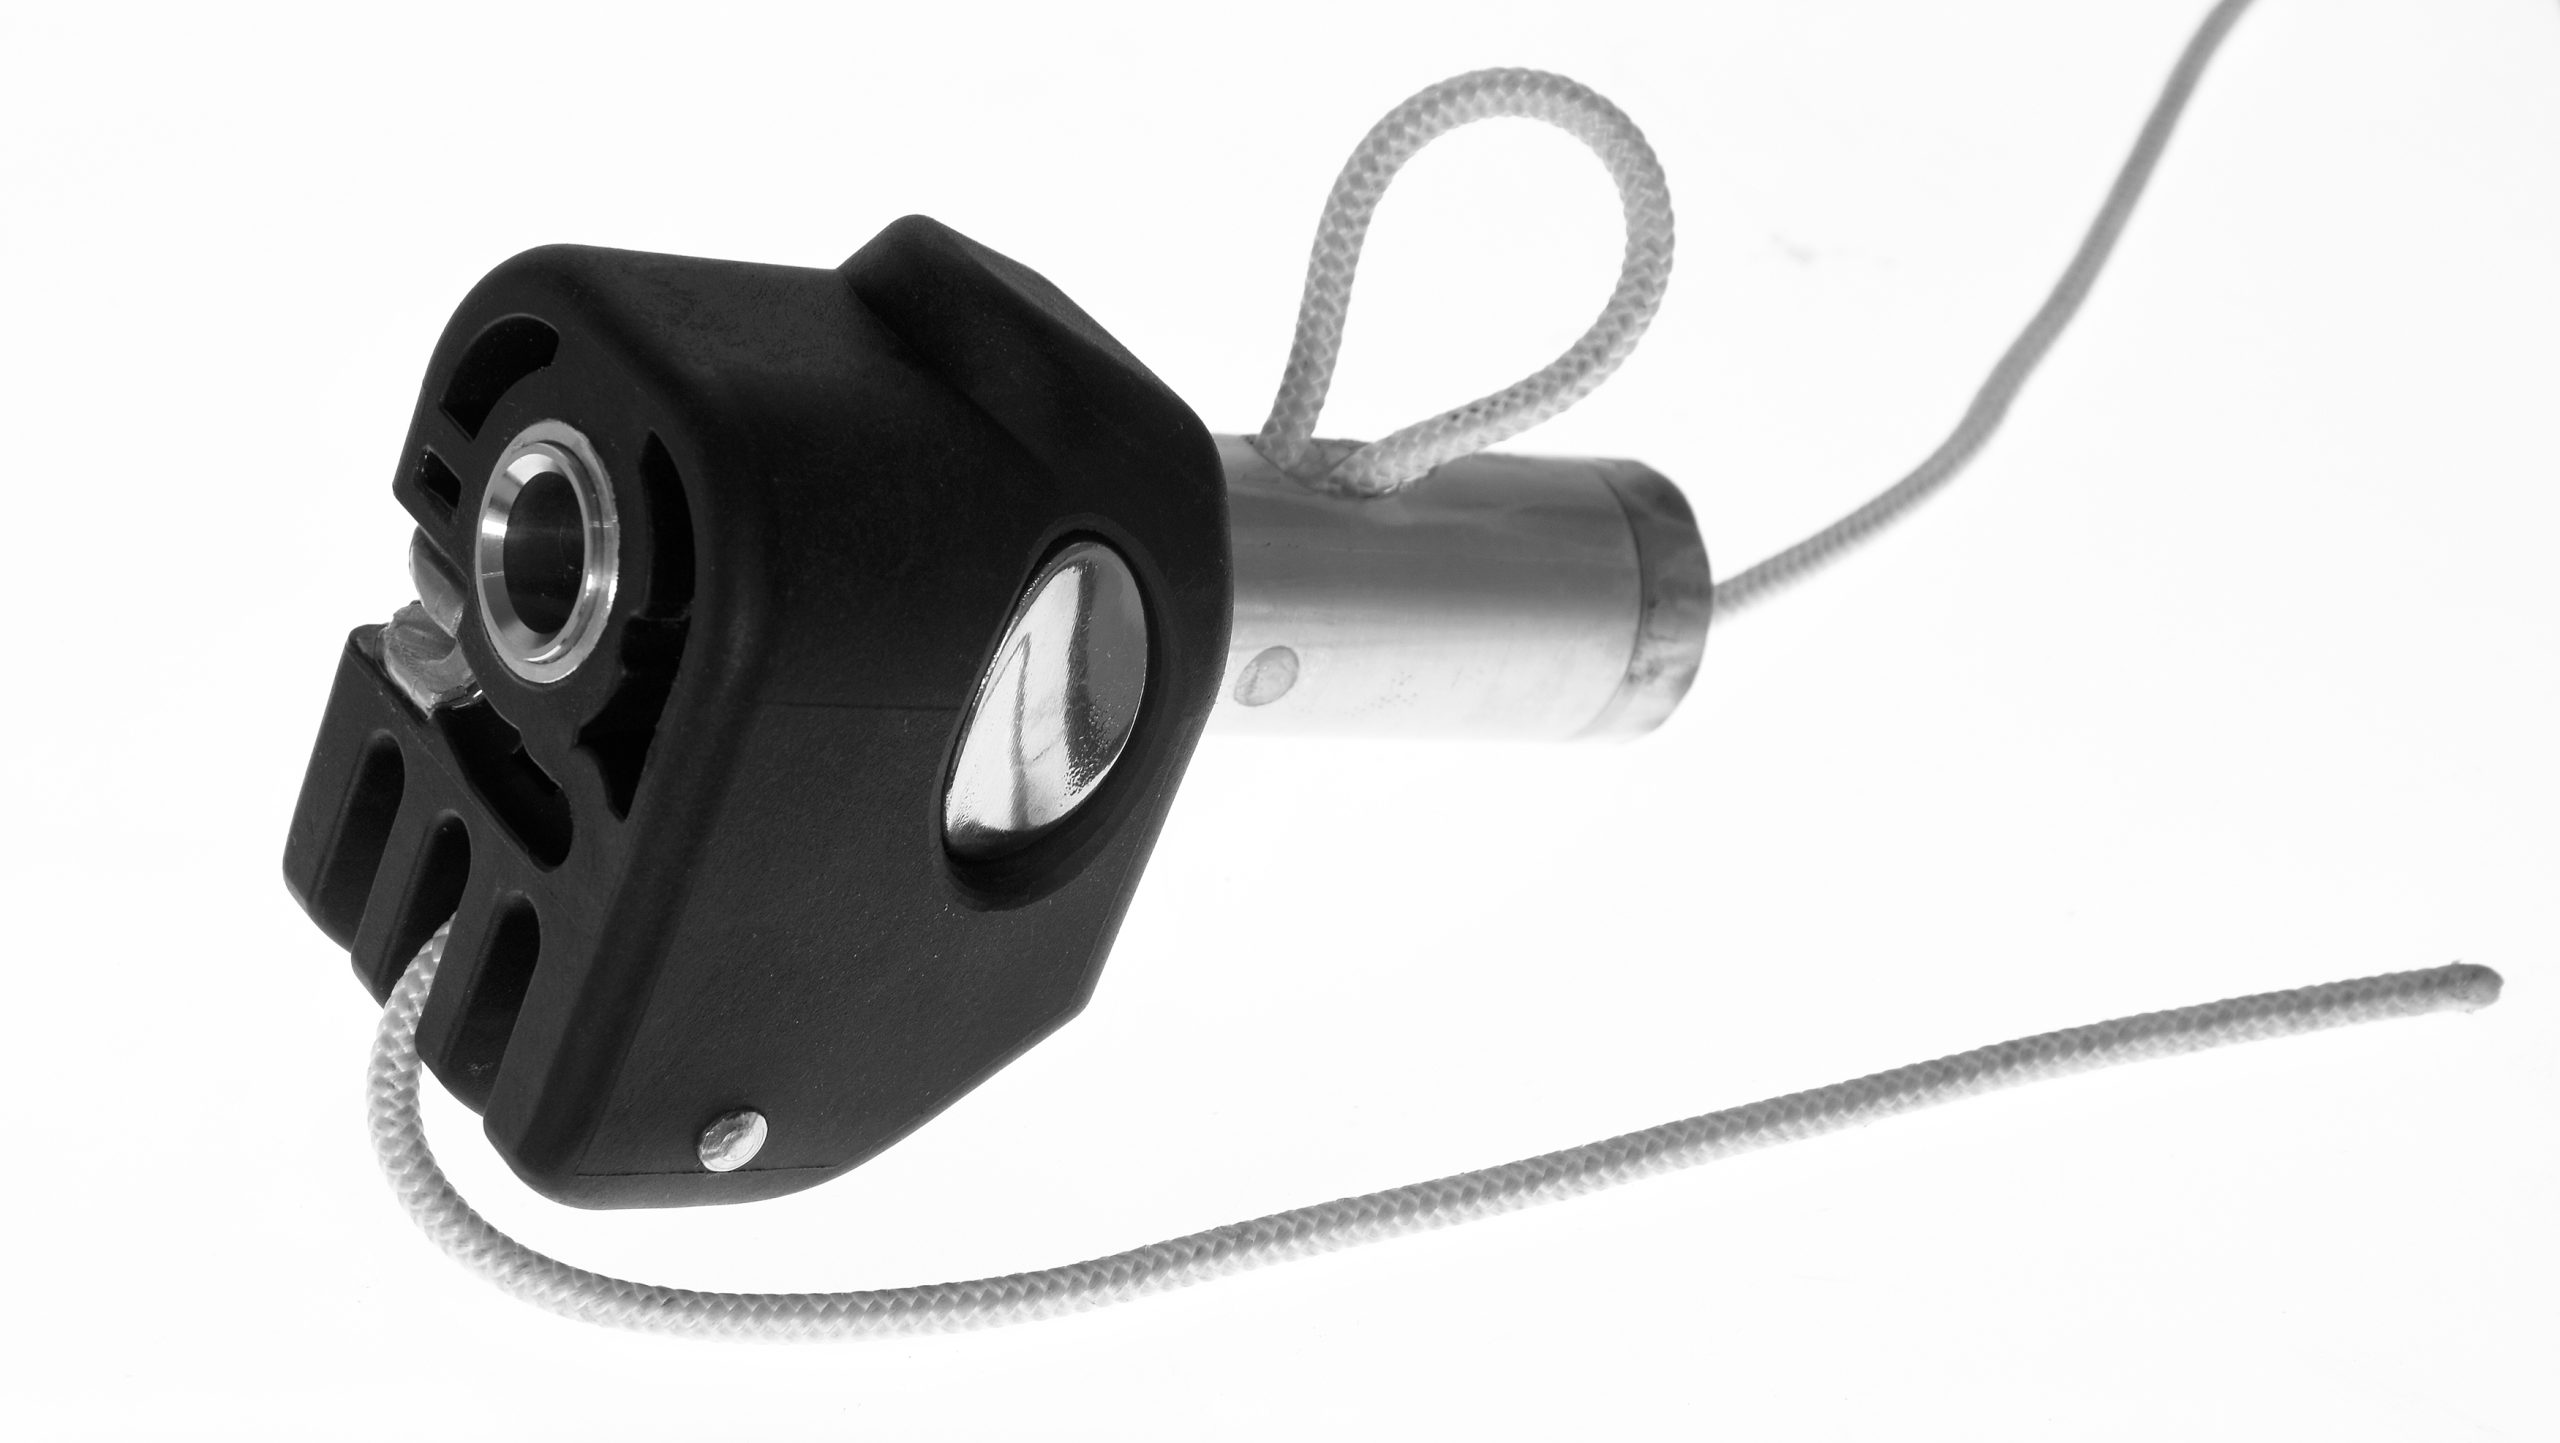
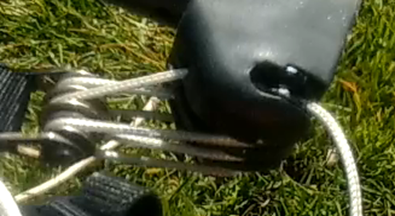
The system is provided with a DYNEEMA rope that runs through the base. The easiest way to thread the rope is to;
- Lower the rope through the carbon tube.
- Bring the end of the rope through the top of the base to the outside just above the Inside pulley (see picture)
- Push the rope through the same opening along the diagonal opening to the middle pulley.
- Bring the base and carbon tube together and pull at the DYNEEMA rope to lower the inside tube at its position on top of the base.
- The DYNEEMA rope can be changed. The piston of the actuator is provided with a forked bracket. The small pin can be pushed out so the DYNEEMA loop can be taken out and the new DYNEEMA loop can be brought in. In normal use the DYNEEMA wire should serve well for at least 2 years.
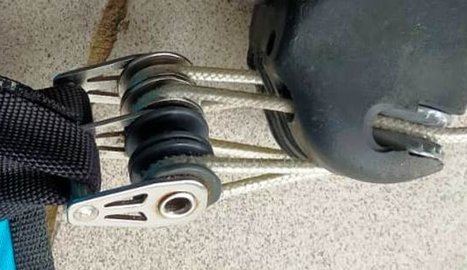
Most sails have tack pulleys that are 90 degrees twisted in relation to the base pulleys. As seen in the introduction the system can be threaded without twisting of the rope.
- From base to first tack pulley (back to front
- From tackpulley to first base pulley ( front to back)
- From first base pulley to middle tack pulley (front to back)
- From the Middle tack pulley to the last base pulley (front to back)
- From last base pulley to frond tack pulley ( back to front)
- From frond tack pulley to clamcleat inside the base.
Important notice:
If the sail has a tack pulley system parallel with the axes of the base system one should turn (left/ right) the pulley system of the sail about 90 degrees by hand and follow point a) to f)
Although every part is selected for long life, every part in the base can be exchanged by the customer themselves.
- Pulleys
- Teflon brass bearings
- Stainless steel axes
- Clamcleat
- Inside axes
- Inside pulleys
- Locking button with spring
If you don’t use the E-Xtension for a longer period like a few weeks or months, make sure you follow instructions as mentioned under point. The optimum voltage for the battery pack is about 11,1 V. It is possible and allowed to discharge until the orange light is visible.
If for some reason the remote control is lost or not working it is possible to purchase a new remote. It is however necessary “to pair” and reprogram the electronics inside the battery pack. This is relatively easy to do:
- At first, take the base completely out of the carbon extension.
- Take a PVC tube about 20cm long and push the inner tube upwards until the entire battery pack is visible.
- At 11 cm from the top of the battery pack, you will see a 2mm white point or a 2mm hole. If necessary, remove the transparent Mylar adhesive and make sure the Power Switch is ON.
- Now push on the white button or take a paperclip and push gently down for 3 seconds.
- Now press “A” or “B” on the new remote for 1 second. (The receiver is now ready to receive the pair signal from the new remote.)
- Again press “A” or “B” for 2 seconds, and the system should function.
- Check the good working of the remote up and down before going on the water.
Make sure (look inside from the bottom) that the little hump on the spliced eye of the downhaul rope is perfectly oriented forwards. In this way, the hump falls nicely inside the diagonal hole of the base, and it will not be cut by the forked piston!
If for some reason the battery pack does function anymore it is possible to order a new battery pack. We do not advise trying to open the battery pack. The battery pack can be unscrewed from the geared engine, and a new battery pack can be screwed on. The torque for tightening the battery pack can be described as a firm tight torque by hand
All masts and most extensions are made of Carbon. The carbon tube shields the remote signal from the receiver like the cage of FARADAY. The E-Xtension is designed in such a way that the aluminum base functions as an “outside” antenna. The stainless steel ring on the support of the actuator is connected to the shielded antenna. The stainless steel ring on top of the aluminum base and the stainless steel ring on the support should be in “good” contact. If for some reason the receiver doesn’t react to the remote please clean the contact. The optimal check is to measure the resistance between earth and the base. If the system is switched ON the resistance between earth (black recharge plug) and base should be < 7 Ohm preferably between 3-4 Ohm.
TRIPLE D
E-Xtension